×
Menu

Treatments

These optional treatments can be used to provide additional decorating effects to any visual playlist asset.

Treatments

1

Shader Selection

1. Shader Selection
Select from this list which shader effect to use.
Available types:
None
Alpha Key
Chroma Key
Grayscale
Invert
Proc Adjust
Sharpen
Gloom
Old Movie
Sphere
Embossed
Dot Matrix
2

Shader Specific Adjustments

2. Shader Specific Adjustments
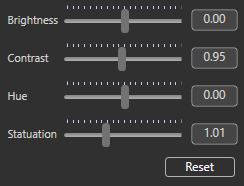
Some shader effect may also have additional properties that can be adjusted.
 
NOTE: Any change to a shader will be evident immediately when the asset is in preview and even when playing in program. This means you can make changes on the fly without having to stop.
3

Mask Selection

3. Mask Selection
Select from any previously created masks to be applied directly to the asset.
 
Click the Editor button to activate the preview mask editor.
 
Refer to Opacity Mask Editor and learn more about the creation and editing of opacity masks.
4

Opacity Adjustment

4. Opacity Adjustment
Use to adjust the assets overall opacity from 0.0 to 1.0. This will also any border or drop shadows.
5

Border

5. Border
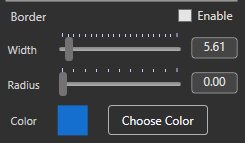
Borders can provide a pleasing aesthetic for PIP type layers, effectively framing the asset with a color of choice.
Width: Use this to adjust the thickness of the border. The value is in pixels and ranges between 0 and 100.
Radius: This can be used to round the corners of the border.  Since the effect also includes an alpha mask that clips the contents, increasing the amount can be used to provide a vignetting of the asset. In most cases the asset’s aspect ratio is more rectangular so this clipping clip will appear more as an oval shape. However, if you combine it with some geometry crop adjustments you can achieve a perfect circle. 


Color: Click the Choose Color to select the desired color of the border itself.
6

Drop Shadow

6. Drop Shadow
A drop shadow gives the impression that the frame containing an asset is raised above the layers behind it. 
Depth: Adjusts the perceivable distance, in pixels, between the asset and the layers below it.
Direction: This adjusts the direction, in degrees, of where the shadow will appear around the asset container.
Blur: Use this to either sharpen or blur the focus of the shadow area. Blurring creates a softer and, in some cases, a more realistic effect.
 
Opacity: Adjust just how opaque the shadow effect appears.
Color: Click the Choose Color to display a color palette to pick color that will tint the shadow effect
7

Blur

7. Blur
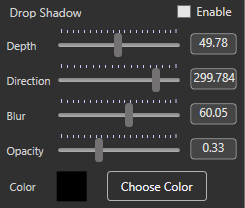
A desire to blur an asset my seem unlikely but when used on underlying layers it can create an interesting bokeh (depth of field) effect making layers appear as if in a 3D space.
 
Amount: Simply the percentage between 0 and 50% of applied effect. 

SEE ALSO: