This interface is only necessary when attempting to establish the network connection between a ‘Master’ and either a Backup node or a Remote Slave’. Refer to Understanding Worksataion Roles to learn more.
Since only the 'Master' workstation can initiate and establish a connection, access to this tool is limited to Master nodes only.
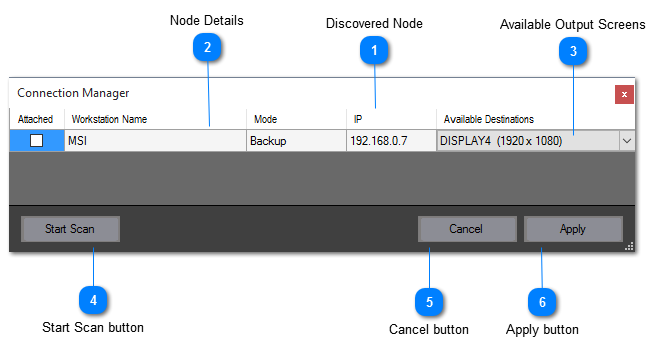
Discovered Node
When the ‘Start Scan’ is enabled AVP will ping the network to find all active and available external nodes. When found, the node will send back information necessary to complete a connection. This info is visualized with a line item appearing the data list.
Check the ‘Attached’ on any of the nodes you wish to connect. Connection will not actually occur until ‘Apply’ is clicked.
NOTE: You can connect to as many ‘Remote’ nodes as you wish but only one ‘Backup’ node can be connected at any one time.
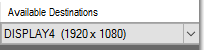
Along with the rudimentary info the discovered node will also relay back that workstations available output screens. You can use this drop down list to select the desired output. As with the local Display Output Selection Tool, each screen’s pixel space is in order starting from the left of the systems ‘Main’ display.