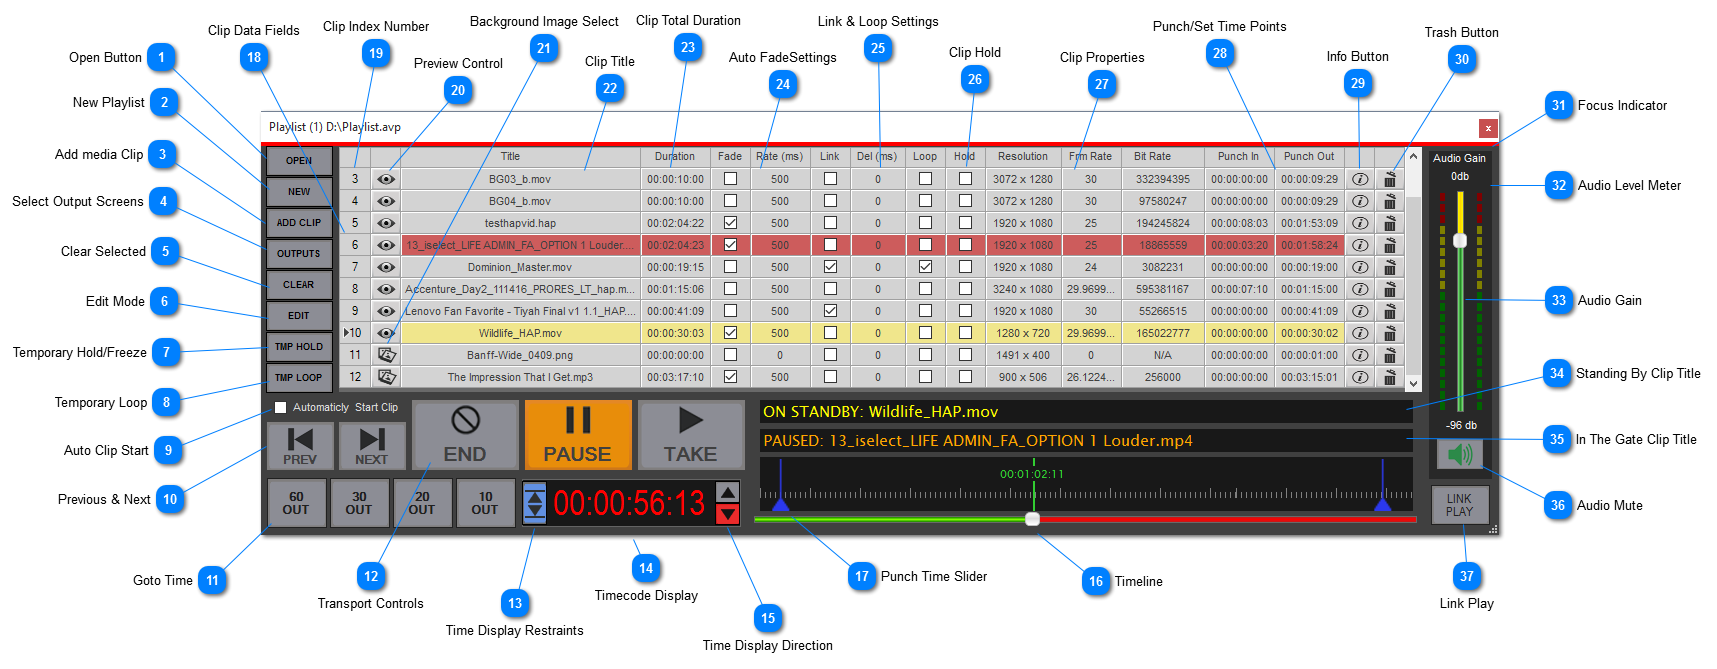
At the heart of AV-Playback is the Playlist control. It is from this control that all primary functions are performed.
Open Button
Browse and load an existing playlist file. If the control already has playlist open, this action will close that file first before loading the selected one.
Use this to create a new blank playlist. It will open browser window enabling you the name the new file and select where it will be saved. As with ‘Open’, if the control already has playlist open, this action will close that file first before loading the new one.
Clicking will bring up the ‘Display Output Selection Tool’. Use it to select which available video and audio output will be owned by the playlist.
NOTE: Only one playlist can be attached to a destination at a time. When the playlist is closed it will release ownership of that destination, this allows other playlists to assume ownership.
To edit certain details of a media clip, this must be enabled. When enabled you can double click and on either the clip’s title, fade rate, link delay time and the punch in or out time to manually edit those properties.
NOTE: While enable you will not be able to select any clips for standby.
When enabled a playing clip will pause and remain visible at its punch out time point and will remain there until the ‘End’ button is pressed. This feature overrides any of the clips individually enabled functions such as, Fade, Link, Repeat and Hold. Once the ‘End button is pressed, the clip will return back to its starting point and this feature will become disabled.
When enabled a playing clip reaching its punch out time point will automatically return to the punch in point and begin to play again. This looping action will continue until the ‘End’ button is pressed. This feature overrides any of the clips individually enabled functions such as, Fade, Link, Repeat and Hold. Once the ‘End button is pressed the clip will return to its starting point and this feature will be disabled.
NOTE: Both Temp Hold and Temp Loop can be enabled prior to the start of a clip.
When checked a clip will automatically begin playing as soon as it is selected. This also applies to selections generated when pressing the Previous or Next buttons.
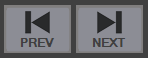
Click to select for standby, either the clip before or after the currently selected standby clip. If there isn’t one selected it will go from the one in the gate. If none are selected it will begin at clip number one.
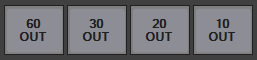
Clicking any one of the four will instantly reposition the clip to either 60, 30 20 or 10 seconds before the clips punch out time. If clip is playing when pressed it will remain playing even after it is repositioned.
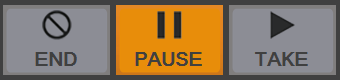
These should be self-explanatory but there are a few details that need to be discused:
‘End’ will stop play and automatically blank the video output as well as return the clip back to its starting position.
‘Pause’ is a toggle. When paused the ‘Start’ button will be disabled you must click the ‘Pause’ again to resume play.
‘Start’ will always begin play at the clips punch in point. If the clip’s current position as been manually moved it will automatically be in a paused condition, so if wanting to start from the manually adjusted point, you will need to click the ‘Pause’ button instead.
This controls the points used to calculate the clips position timecode display. When enabled (blue) time measurement will be from within the boundary’s set by the punch in and out points. If disabled (gray) time is calculated using the clips native start and end points no matter what the punch points are set at.
As an example, let’s say the punch in point is set to trim off the first 3 seconds and the ‘Display Direction’ is set to show elapsed time. Now when the clip’s current position is sitting at the punch in point of 3 seconds, the display will show the time as being zero (00:00:00:00.) Play time will increment up from that point. This helps you to keep track of your actual running time.
Now if the punch out point has been set to trim off the last 4 seconds of the clip and the current display direction is to count down… When the current position is at the punch out point the display would also be showing zero. This helps to keep the operator’s count down call out to the director accurate.
These two separate buttons control the counting direction of the current clip position. When the down arrow is red, the display is counting down to zero. Conversely, when the up arrow is green then the display is counting up from zero.
The color of the time display will also change. It will be red when counting down and green when counting up.
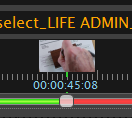
The timeline control gives a graphical display of the clip’s overall length. The hash marks are automatically scaled based on the clips total length. Their placement interval on the line is approximately one second for each small mark and five seconds for the larger. For long running clips, the interval will change to reflect minutes instead.
The track bar icon along with green scrub line, moves to reflect the play head’s current position. The small timecode display on top of the scrub line will always show the actual position within the clip’s native extents, regardless of current punch points.
By clicking on and dragging the trackbar icon you can manually set the current position of the play head. When doing so, a small preview window will appear showing the video frame in that position. As you move the control, the preview window will follow and continually refresh itself with the correct frame. Once you let go the preview window will disappear
You can also simply hover the mouse cursor over the track bar and then use the mouse’s scroll wheel to move its position. Either can be done even while the clip is currently playing.
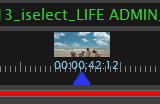
This pair of controls give a visual representation of the current punch in and out times. Anytime either of the two setting are changed via either typing the time in manually within the clip’s own properties or when changed using the ‘Preview Control’, these marks will reposition themselves.
By clicking on either with the left mouse button and holding, you can drag them to a new desired point. While doing so, a small preview window will appear showing the video frame in that position. Once you let go that position will be locked in and the preview window will disappear.
As you move the control, the preview window will follow and continually refresh itself with the correct frame.
Any changes are saved immediately. You can even do this while the clip is playing
When the clip in standby is moved to program, its title appears here. The ‘Standing By’ text label will become blank until another clip is placed in standby.
The data fields contain perinate information as well as user functions.
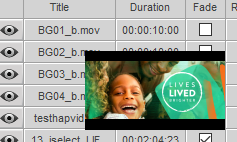
Clicking most anywhere within the row will select the clip and place it into standby, with the, exception of its checkboxes (Fade, Link, Loop & Hold). Clicking these only effects, a direct change to that function’s current state.
Once the clip is selected the row’s back color will become yellow. This signifies the clip has been loaded into the video engine’s memory, and is now ready for play.
When a standing by clip is instructed to play, it is now considered “In the gate” and the back color will turn to red.
If you left click and hold you can then drag that clip and all it settings to any other index position within the list.
To edit certain properties, ones that requires the need for direct typing of a value, will first require you enable the ‘Edit’ button. When ‘Edit’ is enabled you will be unable to select a clip for standby, instead mouse clicks are treated as a request to edit a particular field.
TIP: Right clicking on any row will cause a small popup preview window to appear, which contains a thumbnail of a video frame at five seconds in. This time value is fixed and cannot be changed.
If the clip is a music or audio only clip this icon will appear in the place of the Preview Control icon. When clicked a file browser will appear. Use the browser to select the still image file you would like displayed on the video output while the clip is playing.
NOTE: If you are using a playlist that is audio only, this grid column will not even appear.
Displays the clip’s current title. By default, the title is the file name for the clip. This field can be changed by enabling the ‘Edit’ button, double clicking on the cell and then type in a title you prefer.
Each video or audio clip can be configured to perform a gentle fade in and out. By default, each new clip added will have this feature enabled along with a 500-millisecond fade duration. This feature can be enabled or disabled at any time, even while the clip is playing. However, to change its fade rate you must first enable the ‘Edit’ button, then double click on the text field to type in a new value.
Note: This value cannot be empty, it will only accept values of 100-milliseconds or greater.
Any clip can be linked with another. When one clip ends the next one will begin to play automatically.
To create a link, both clips their Link enabled. It is not required to have any of the linked clips next to one another in the list but the link flow is from top to bottom, so consider that when determining a sequence.
Del(ms):
If you wish, a delay of the next clip’s start can be implemented. By default, this vale is ‘0’.
To edit the value, first enable the ‘Edit’ button and then double click on the text field to type in a new value. This delay value must be set on the clip receiving the linked start. This way you can customize the delay value separately for each linked clip.
Loop:
As with the link any individual clip can also be repeated automatically. When this is checked, the clip will loop continually until the ‘End’ button is pressed.
The same delay value can be applied to the end of each iteration if you do not wish to perform a “seamless loop”.
NOTE: By default, it is understood that when the loop is used, it will be seamless. When first checked the ‘Fade’, Link and ‘Hold’ features will be disabled. This strategy is helpful if you are instructed to loop the clip after it has already begun playing. Once it has been checked, you can re-enable the ‘Fade’ and/or adjust the loop’s delay time.
There however one exception to this rule… The disabling of those of those other features will not occur if the clip already has its ‘Link’ enabled and is part of a sequence of linked clips,
Looping Linked Clips:
A sequence of ‘linked’ clips can also be looped. If the last linked clip has its ‘Loop’ enabled, then when that clips ends the first linked clip will begin playing. This entire sequence will continue until the ‘End’ button is pressed.
Like the ‘Temporary Hold’ function, when checked, each time the clip played it will pause/freeze right at the punch out point and remain visible until the ‘End button is pressed’.
NOTE: Enabling this will automatically disable the ‘Fade’, ‘Link’ and ‘Loop’ functions.
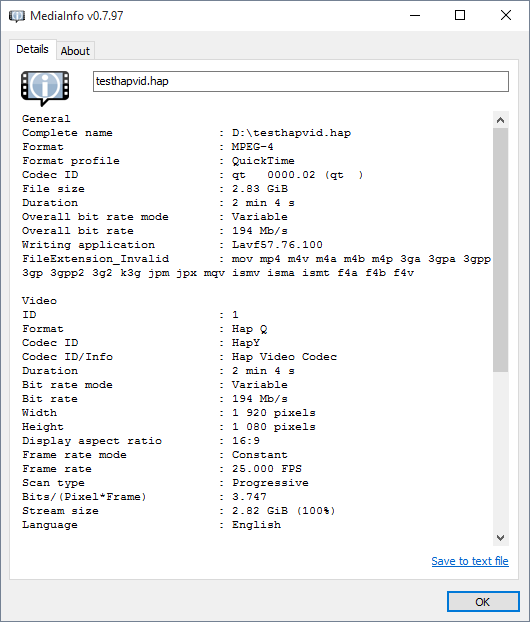
These fields display more of the clips properties. Native resolution the clip was rendered at, frame rate and its bit stream size.
TIP: The bit stream size is a property you need to pay close attention too, for it is the main reason for a clips possible rough playback performance. Our tests have shown that on an average quality pc, the bit stream size should not exceed 400 megabytes. Of course these assessments may vary from computer to computer but you should think of this limit as a good rule of thumb.
These show the current punch in and out timecode points. By default, when a clip is added to the playlist these will show the clips native extents. You can edit these directly by fist enabling the ‘Edit’ button and then double click on either, then you proceed to type a timecode point in manually. Click enter when done.
NOTE: When manually entering a value you must adhere to the standard timecode format, insuring that the colons appear between each element of time, (hh:mm:ss:ff).
If there are multiple active playlists control visible, then it is important to track which one has keyboard focus when issuing commands via either the keyboard or with the MCS5 Control Surface. Only one can receive commands at a time. The playlist that has this red line visible across the top, indicates that is the one with keyboard focus.
NOTE: To change focus simply hover the mouse cursor over the playlist control or issue the SHIFT + TAB short key command.
Once a clip is selected for standby its title will appear here.
Selecting a clip for standby is simply performed by clicking anywhere within the clip’s row, except for its checkboxes (Fade, Link, Loop & Hold), this is because those properties can be set without enabling the ‘Edit’ button.
NOTE: If the ‘Edit’ button is enabled you cannot make a standby selection.
When the clip in standby is moved to program, its title appears here. The ‘Standing By’ text label will become blank until another clip is placed into standby.
Another exclusive feature included, is the ability to link transport commands on all active playlists that have this feature enabled.
When playlists are linked, clicking on any of the standard transport controls, such as Start, Pause, End, Scrub and Time Out will cause the exact same command to occur on the other linked playlists. This makes it possible to sync playback to multiple destinations simultaneously.